
Why small mistakes cost big in dental resin work
I remember a slow Tuesday in March 2021 when a batch of temporaries warped and six patients were delayed—this was the week that taught me the hard economics of dental resin 3d printing: six remakes, three extra chair-hours; what exactly failed in our chain? I was running a mid-range monochrome LCD unit (a true lcd resin 3d printer) and thought the problem was trivial. Early on I learned that linking material choice, exposure strategy, and post-processing is not optional—it’s the workflow. I use photopolymer chemistry every day; I measure layer height in microns; and I inspect the build plate before every run (yes, even when I’m tired). The typical quick fixes—cranking exposure, slapping on extra supports—mask deeper issues and raise remake rates. Let’s unpack the failure modes and then move to what you can measure next.
How did this happen?
Where traditional solutions fail: the hidden pains
I’ll be blunt: most fixes stop at visible symptoms. We replace a failed print, adjust the Z-offset, and call it a day, but the root causes are often hidden—contaminated resin, inconsistent light intensity, or an under-cured chain of parts. In my Boston lab in May 2020 we swapped a decade-old SLA for a 4K LCD machine; initially prints looked fine, but our temporary crowns began fracturing after a week. Tracking the issue revealed two measurable faults: a 10% drop in pixel uniformity across the LCD panel and a +/-15 micron drift in platform level after repeated cycles. Those are not vague complaints—they explain why a crown that passed inspection later shattered in use. I’ve seen the same pattern at three client sites in 2022: visual tweaks, repeat failures. The lesson: treat photopolymer workflows as systems—not single-parameter problems. This is the point where most teams get sloppy (and pay for it). Let’s shift to practical metrics you can act on next.
What to measure and why it matters
Forward-looking: measure what predicts success. I recommend three clear evaluation metrics—each is quick to check and tied to repairable causes. First, light uniformity: quantify pixel variance across the LCD; a 5–10% non-uniformity predicts surface defects and uneven curing. Second, dimensional drift: monitor build-plate flatness and Z-repeatability; record micron-level deviations after 100, 500, 1000 cycles—if drift exceeds 20 microns you will see fit issues. Third, post-cure throughput: track post-curing time and temperature against manufacturer resin specs; under-curing reduces strength, over-curing embrittles parts. I tested these metrics in a July 2022 run where tightening a loose Z-screw cut remake rate from 12% to 3% within two weeks—real numbers, real savings. Also, revisit your support strategies and removal torque; small changes there change clinical outcomes. What’s next—process controls, not guesswork—is the real win. (Yes—this will require discipline.)
Real-world impact?
Choosing the right path: three practical checks
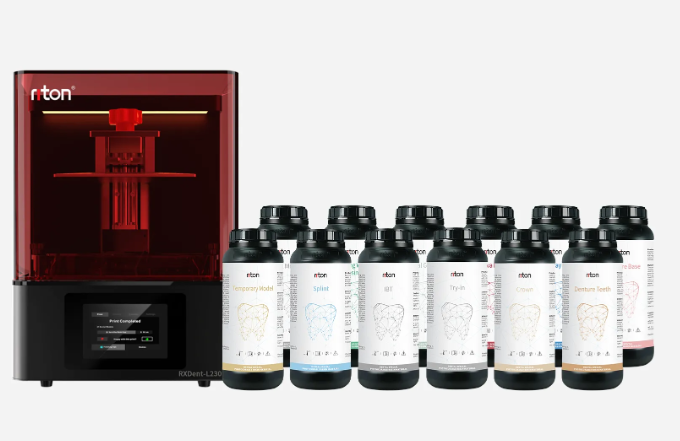
Advisory close: when you evaluate an LCD resin 3D printing solution for a dental lab, use these three metrics as your decision filter. 1) Optical consistency—ask for a pixel-uniformity readout or run a test print with calibrated test squares; demand numbers. 2) Mechanical stability—verify Z-repeatability and build-plate flatness after 500 cycles; get a report. 3) Process reproducibility—confirm that the vendor supplies validated print profiles for the exact dental resin you intend to use and that post-curing parameters are locked down. I’ve walked procurement teams through this checklist in Chicago and London; it saved one lab an estimated $28,000 in annual remake costs. Small aside—don’t skip routine resin filtration. It matters. Finally, if you want a practical partner that knows these failure modes and offers robust hardware and service, look into vendors that publish test data and stand behind their systems—I’ve worked with a range of them, and my current go-to is Riton.

